Over several centuries, people have appreciated the exquisite and detailed art form of cross-stitching. Whether you are a novice or an experienced cross-stitcher, one consistent thing is the requirement to properly care for and display your finished creations, regardless of your experience level.
We will discuss some helpful hints and techniques for washing, ironing, and framing your cross-stitch work so that it continues to look its best for many years to come. Washing your cross-stitch piece is the first and most important step in removing any dirt, oils, or stains that may have developed during the stitching process.
We will discuss the most effective ways to wash your project gently without damaging the delicate stitches. Then, we will continue our exploration of the world of ironing by demonstrating how to press your fabric properly to eliminate wrinkles and creases without causing the stitches to go flat.
In the final part of this discussion, we will discuss the numerous possibilities available for framing your finished cross stitch, ranging from conventional frames to display ideas that are more creative and original.
Your creations created through cross stitching have the potential to become treasured heirlooms that you will be able to proudly display in your house for many years to come if you give them the proper care and attention.
Cross-stitch is a well-liked craft that requires careful handling and attention to detail, particularly when washing, ironing, and framing completed pieces. Use the appropriate conservation methods to ensure that your cross-stitch masterpieces retain their beauty and integrity for many years.
Contents
- 1 How to Wash Your Cross Stitch
- 2 Ironing and Pressing Your Cross Stitch
- 3 Washing and Pressing Finished Pieces
- 4 How to Frame Your Cross Stitch
- 5 Embroidery Care Tips
- 6 Conclusion
- 7 FAQs
- 8 Q: How do I wash my finished cross stitch?
- 9 Q: Should I use a washing machine to clean my cross stitch?
- 10 Q: How do I press my finished cross stitch to make it look neat?
- 11 Q: Can I iron my cross stitch directly on the front side?
- 12 Q: Do I need to be cautious when washing hand-dyed cross stitch pieces?
- 13 Q: How should I air dry my cross stitch after washing?
- 14 Q: What should I use to press my finished cross stitch?
How to Wash Your Cross Stitch
When washing your cross-stitch creations, it is important to use gentle techniques to avoid damaging the delicate stitches. Fill a basin with lukewarm water and add a small amount of mild dish soap. Gently swish the piece in the soapy water to remove dirt or dust particles.
To avoid damaging the colors of your cross stitch, use a gentle detergent that won’t cause bleeding or fading. Rinse the piece thoroughly with clean water to remove all soap residue. Pat the piece dry with a soft towel to remove excess water.
Ironing and Pressing Your Cross Stitch
Ironing your cross-stitch removes wrinkles and gives your piece a polished look. However, it is important to iron your piece on the reverse side to prevent damage to the stitches. Place a pressing cloth over the design before ironing to protect the stitches from direct heat.
Using steam can be helpful in the ironing process, especially for stubborn wrinkles. Hold the iron a few inches above the fabric and gently steam the area without directly contacting the stitches. This will help relax the fabric and make ironing easier.
Washing and Pressing Finished Pieces
Finished cross-stitch pieces may encounter stains over time, and it is essential to address them promptly to prevent permanent damage. Consider hand washing the affected area with a mild detergent before rinsing and drying the piece as usual for tough stains.
Properly pressing your completed cross-stitch projects is important to maintaining their appearance. Use a warm iron on the reverse side and press gently to avoid flattening the stitches. Rinsing the piece after pressing will help remove any residue and keep it looking fresh.
How to Frame Your Cross Stitch
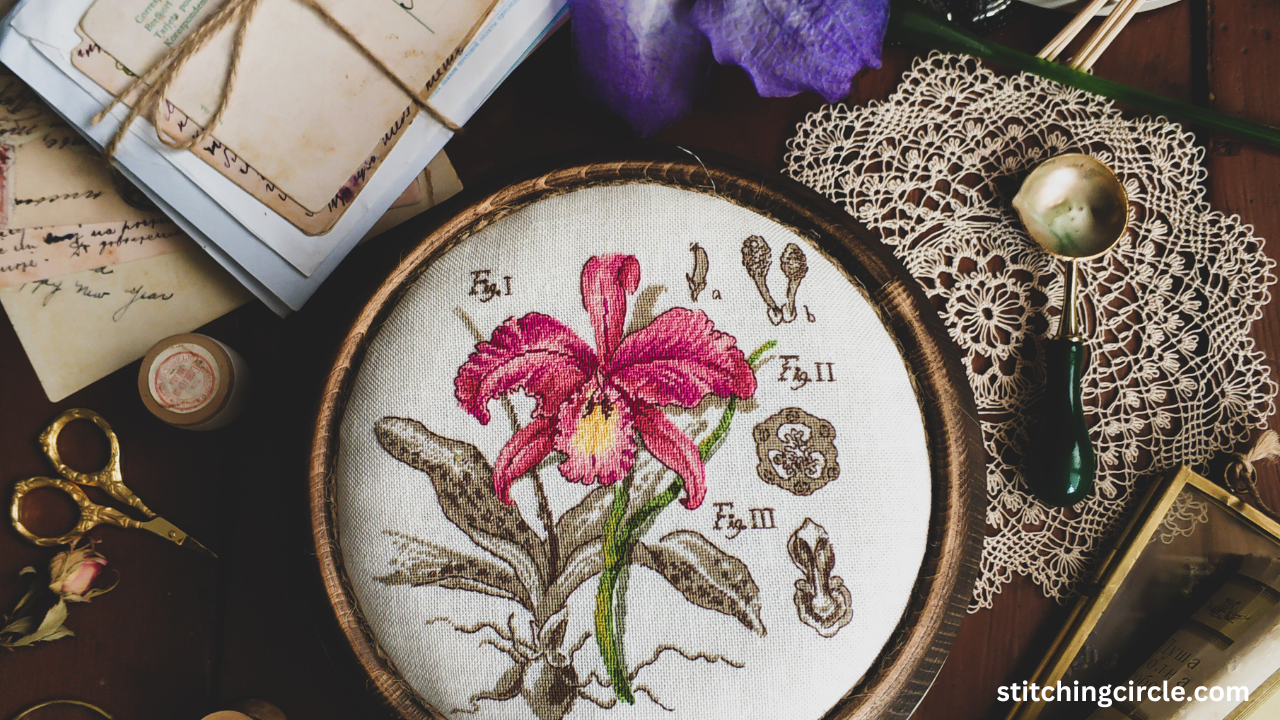
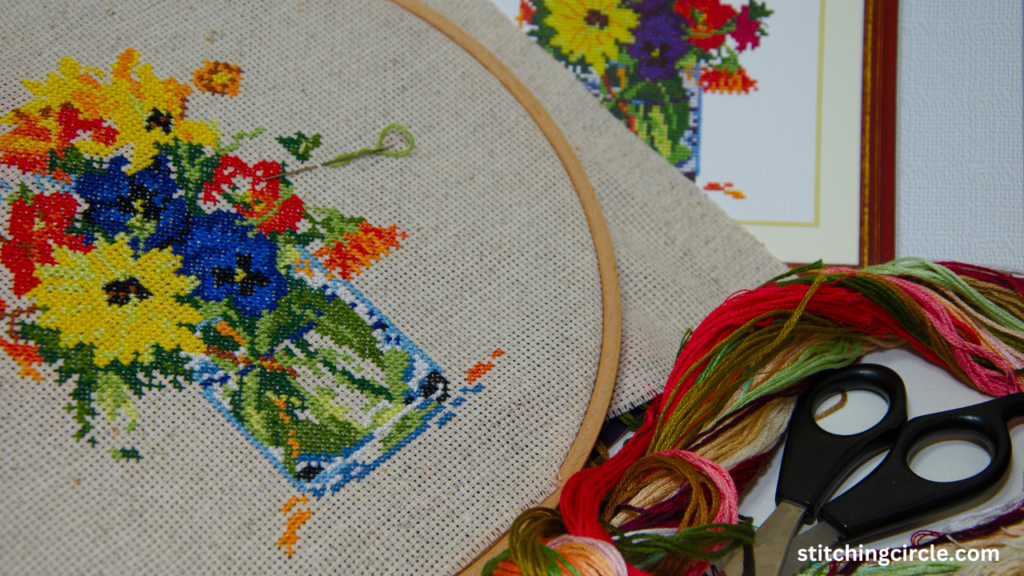
Choosing the right frame for your cross-stitch piece is crucial to enhancing its beauty and protecting it from dust and dirt. Use a hoop or mounting board to secure the fabric before framing to prevent creases or folds. Ensure the fabric is taut to create a smooth finish.
When framing your work, be mindful of any potential creases or folds that could affect the piece’s overall appearance. Take your time to position the fabric properly within the frame and avoid any unnecessary handling that may cause damage to the stitches.
Embroidery Care Tips
Protecting the integrity of your embroidery stitches is essential for their longevity. Using high-quality DMC threads can ensure long-lasting colors that aren’t prone to fading or bleeding. Preserve the quality of your cross-stitch art over time by following proper washing and framing techniques.
Remember, caring for your cross-stitch pieces involves more than just the stitching itself. By following these tips for washing, ironing, and framing your masterpieces, you can enjoy your creations for years while maintaining their beauty and craftsmanship.
Conclusion
Acquiring the skills necessary to master the art of washing, ironing, and framing cross-stitch masterpieces is crucial for maintaining their beauty and durability.
Adhering to these guidelines guarantees that your laborious efforts will be displayed to their fullest potential for many years.
Use appropriate washing techniques, such as utilizing gentle detergents and lukewarm water, to remove dirt and oils without damaging the delicate stitches. Avoid harsh chemicals and excessive agitation to preserve the vibrancy of your stitched designs.
When ironing, it is essential always to use a low heat setting and place a clean cloth or pressing cloth over your work to prevent the stitches from exposure to direct heat. By pressing the cloth gently, rather than rubbing or dragging it with the iron, you can help preserve the fabric’s integrity and prevent it from becoming distorted.
The final step is to frame your cross-stitch work to complete the display. Selecting materials of superior quality, such as acid-free mats and UV-protective glass, can be of assistance in preventing discoloration and fading over time.
The use of appropriate frame procedures, which include ensuring that tension and spacing are even, results in a polished and professional finish.
By implementing these pieces of advice into your routine for caring for your cross-stitch projects, you can ensure that your creations will continue to be flawless and stunning for many generations to come.
To ensure that your stitched creations are preserved for years of admiration and enjoyment, it is essential to take the time to care for them with affection and attention to detail. This will allow you to experience the satisfaction of maintaining your craftsmanship.
FAQs
Q: How do I wash my finished cross stitch?
A: To wash your finished cross stitch, hand wash it in warm water with a mild detergent. Gently swish the piece and then rinse thoroughly. Avoid wringing or twisting the fabric to prevent distortion.
Q: Should I use a washing machine to clean my cross stitch?
A: It’s best not to wash delicate cross stitch pieces in a washing machine, as the agitation could damage the stitching. Hand washing is recommended for better results.
Q: How do I press my finished cross stitch to make it look neat?
A: After washing, place your finished cross stitch on a dry towel and gently press out excess water. Then, place it face down on a clean towel and iron on the reverse side using a low heat setting.
Q: Can I iron my cross stitch directly on the front side?
A: It’s recommended to place a clean towel or a piece of fabric over your cross stitch before ironing to protect the stitching. Direct contact with the hot iron could damage the threads or fabric.
Q: Do I need to be cautious when washing hand-dyed cross stitch pieces?
A: Yes, hand-dyed pieces may not be colorfast, so it’s important to wash them gently to avoid color bleeding. Test a small inconspicuous area first to ensure the dyes won’t run.
Q: How should I air dry my cross stitch after washing?
A: Lay your washed cross stitch flat on a dry towel to air dry. Avoid hanging it up to dry, as this can cause stretching or distortion of the fabric. Make sure it is completely dry before framing or storing.
Q: What should I use to press my finished cross stitch?
A: Use a clean ironing board and a low heat setting on your iron to press your finished cross stitch. Avoid pressing directly on any metallic embellishments or beads that may be on the piece.
